Joining Granny Squares
- Home
- Joining Granny Squares
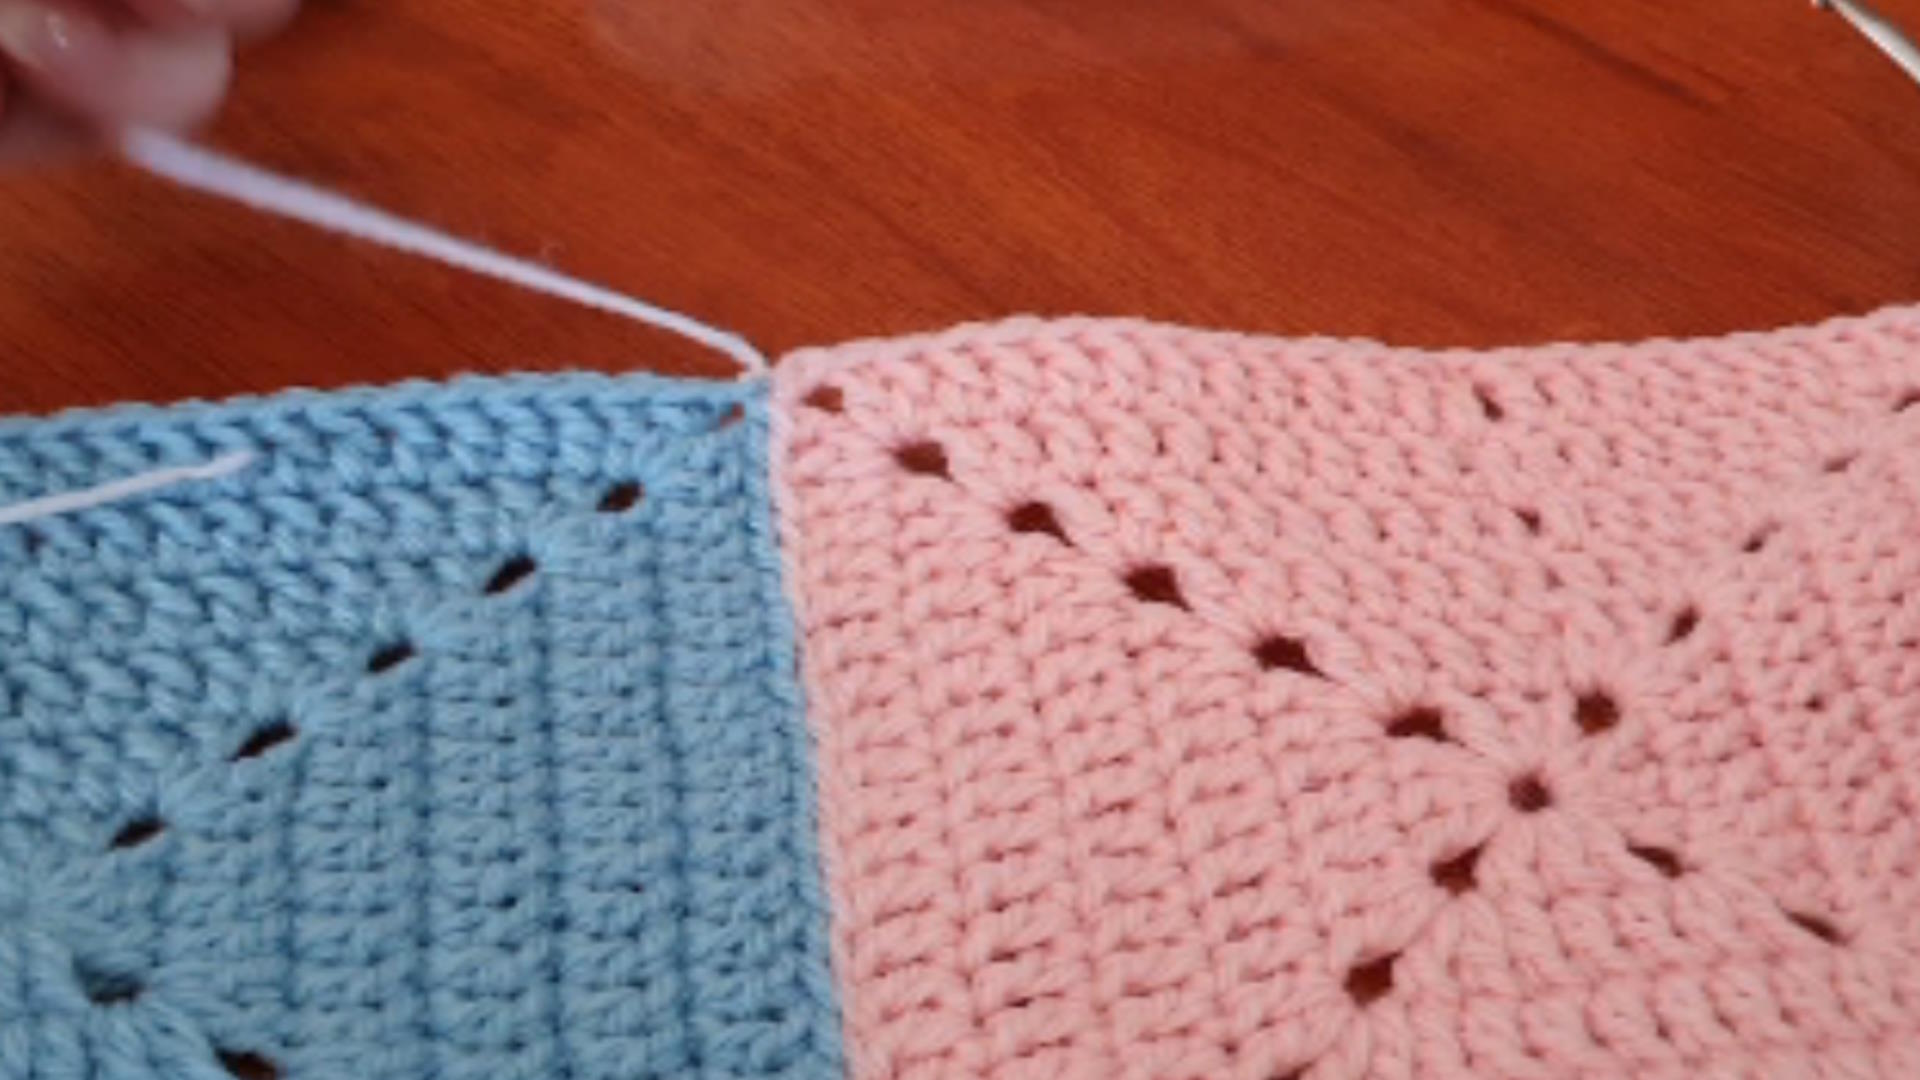
The method you use for joining granny squares will have a significant effect on the look of your finished article. On this page you will find information on some of the choice you have. For example, you can simply sew the squares together using a knitter's needle, or you can crochet an edge and then crochet the edges of your square together.
You might like the look of crochet 'ridges' around each square or prefer a smoother join that looks more like a chain stitch on the top of the joined squares.
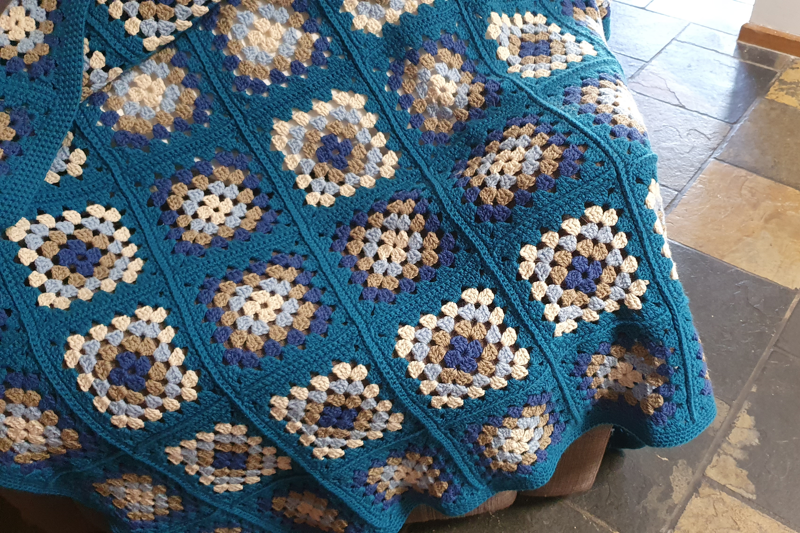
With 'Ridges'
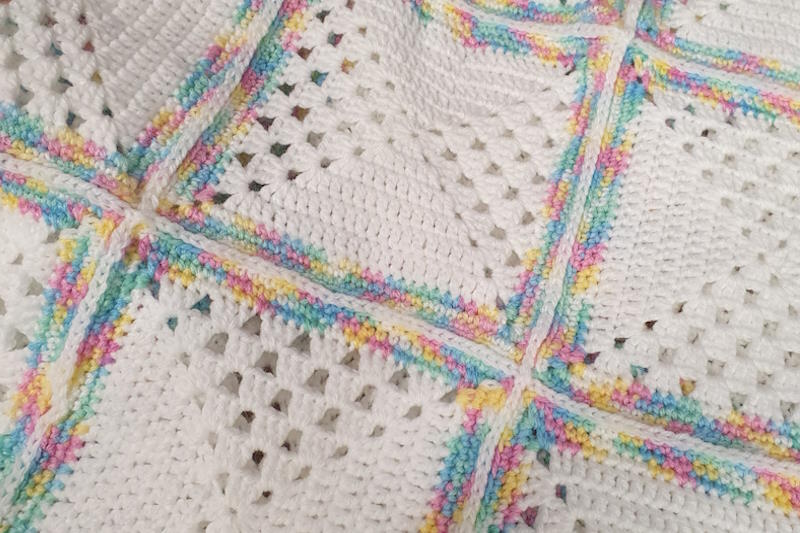
With 'Flat Chain Stitch'
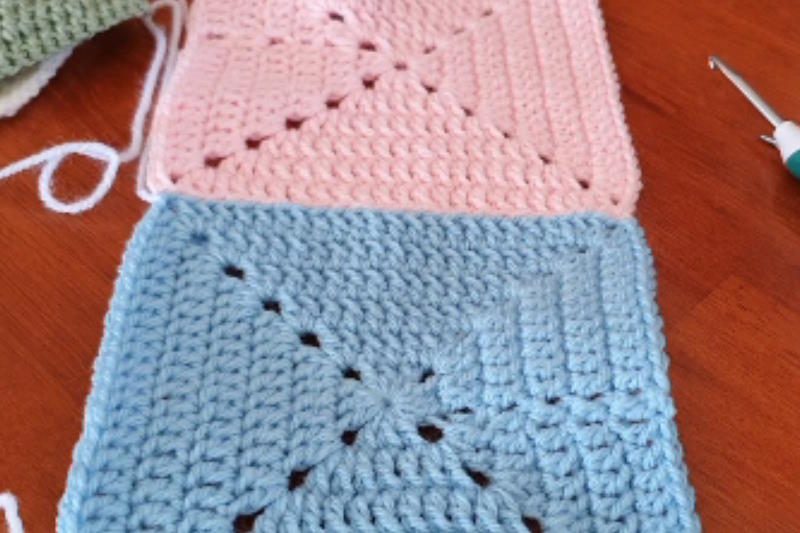
Invisible Seam
Joining Granny Squares by Crocheting together
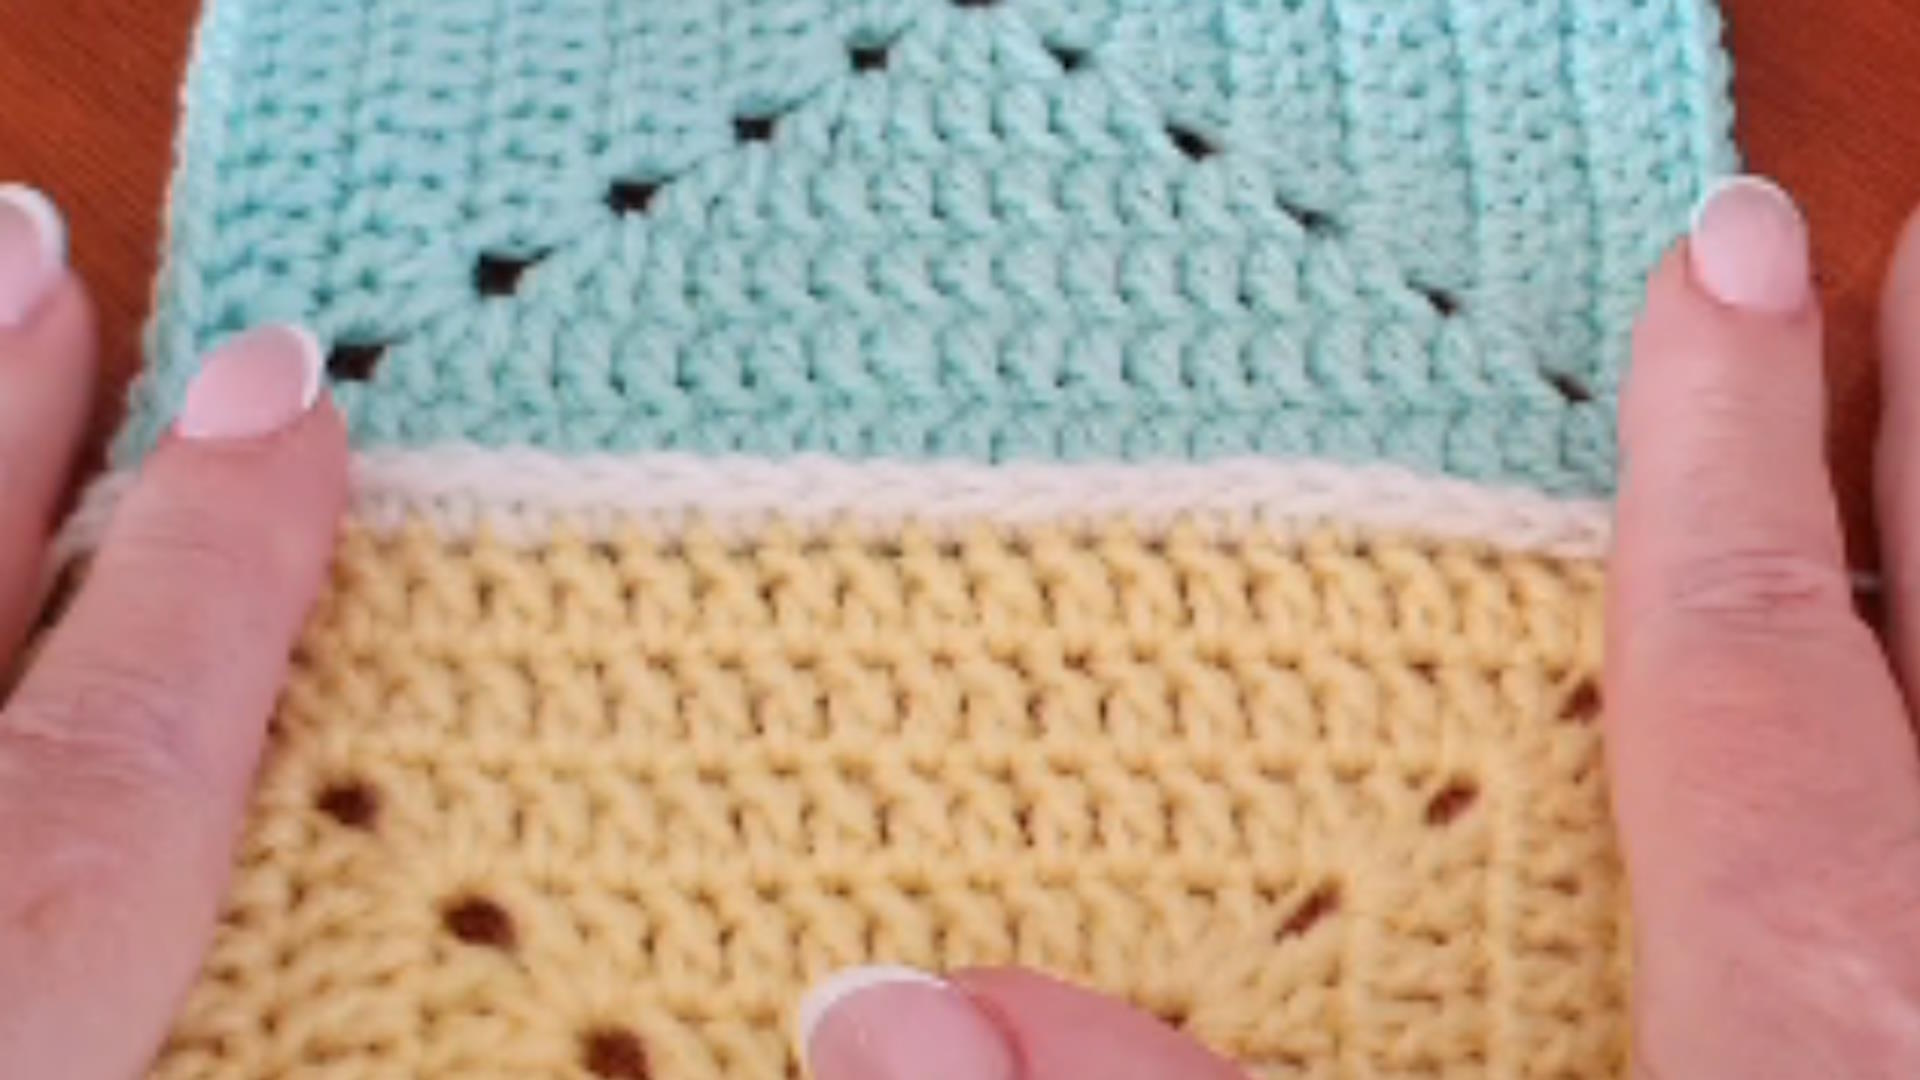
Join your yarn to the second chain stitch in the corner chain space on one of your granny squares. Insert your crochet hook through the same stitch on the second granny square and form a slip stitch. Pull the stitch tight.
Hold the two squares together with wrong sides together. Insert your hook through the same stitch on both squares, wrap the yarn around your hook and pull the loop through to the front. Wrap the yarn around the hook again and pull the loop through the two loops on your hook (forming a double crochet stitch).
Work your way along the two squares working a double crochet in each stitch until your reach the chain space at the other edge of the squares. Fasten off.
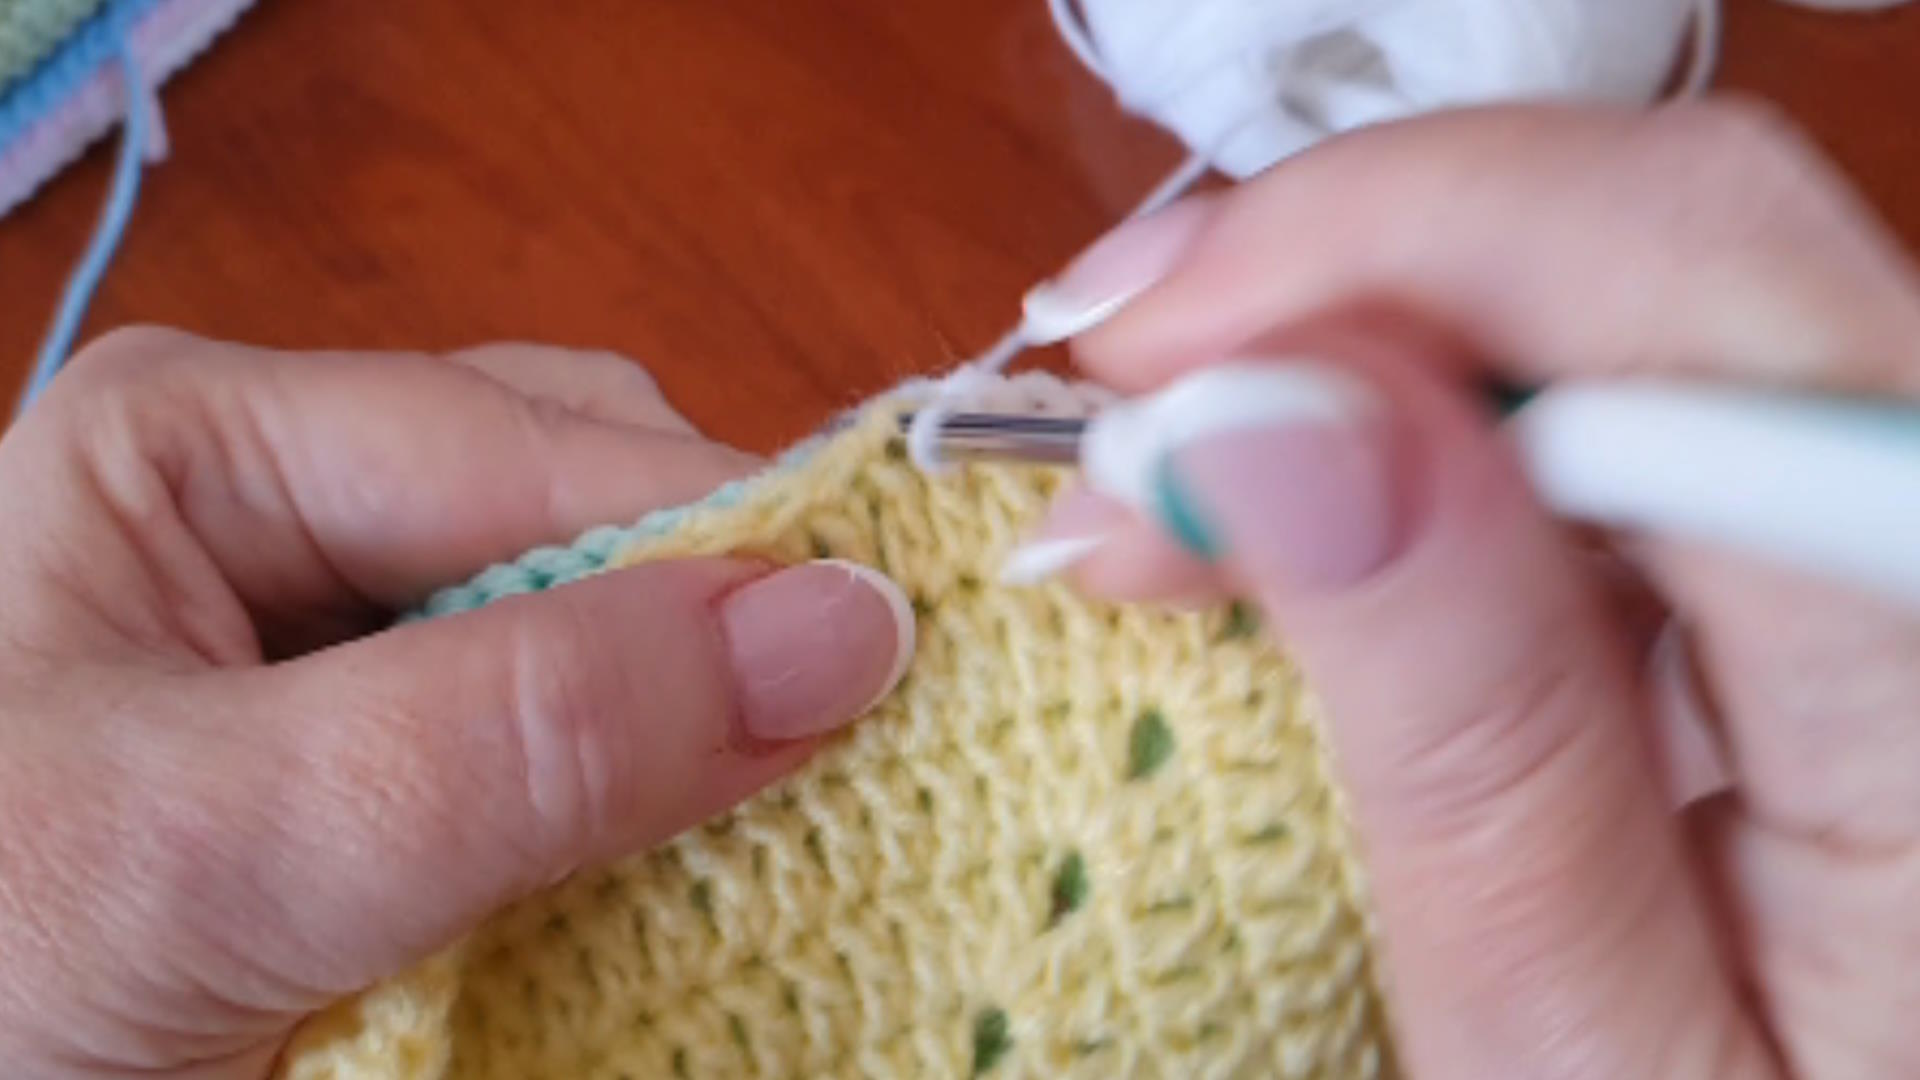
Joining Granny Squares using a Chain Stitch
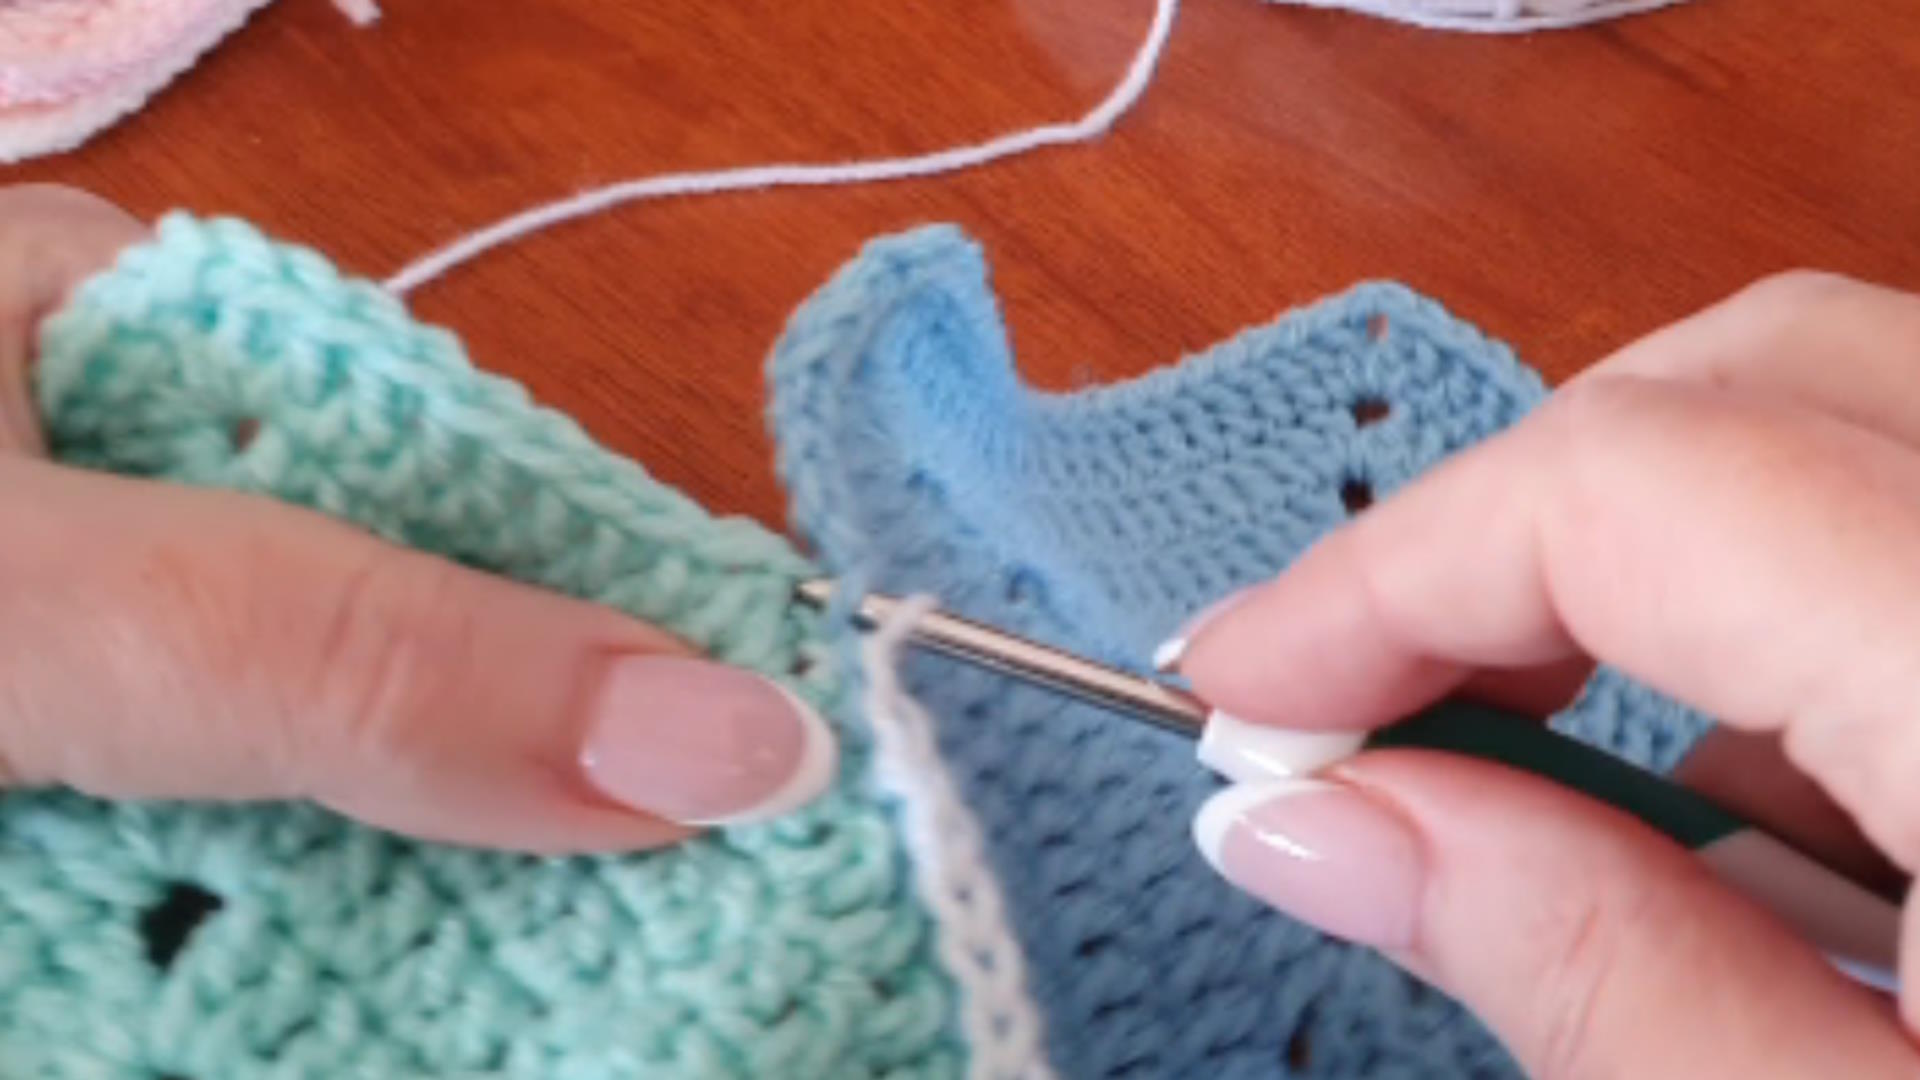
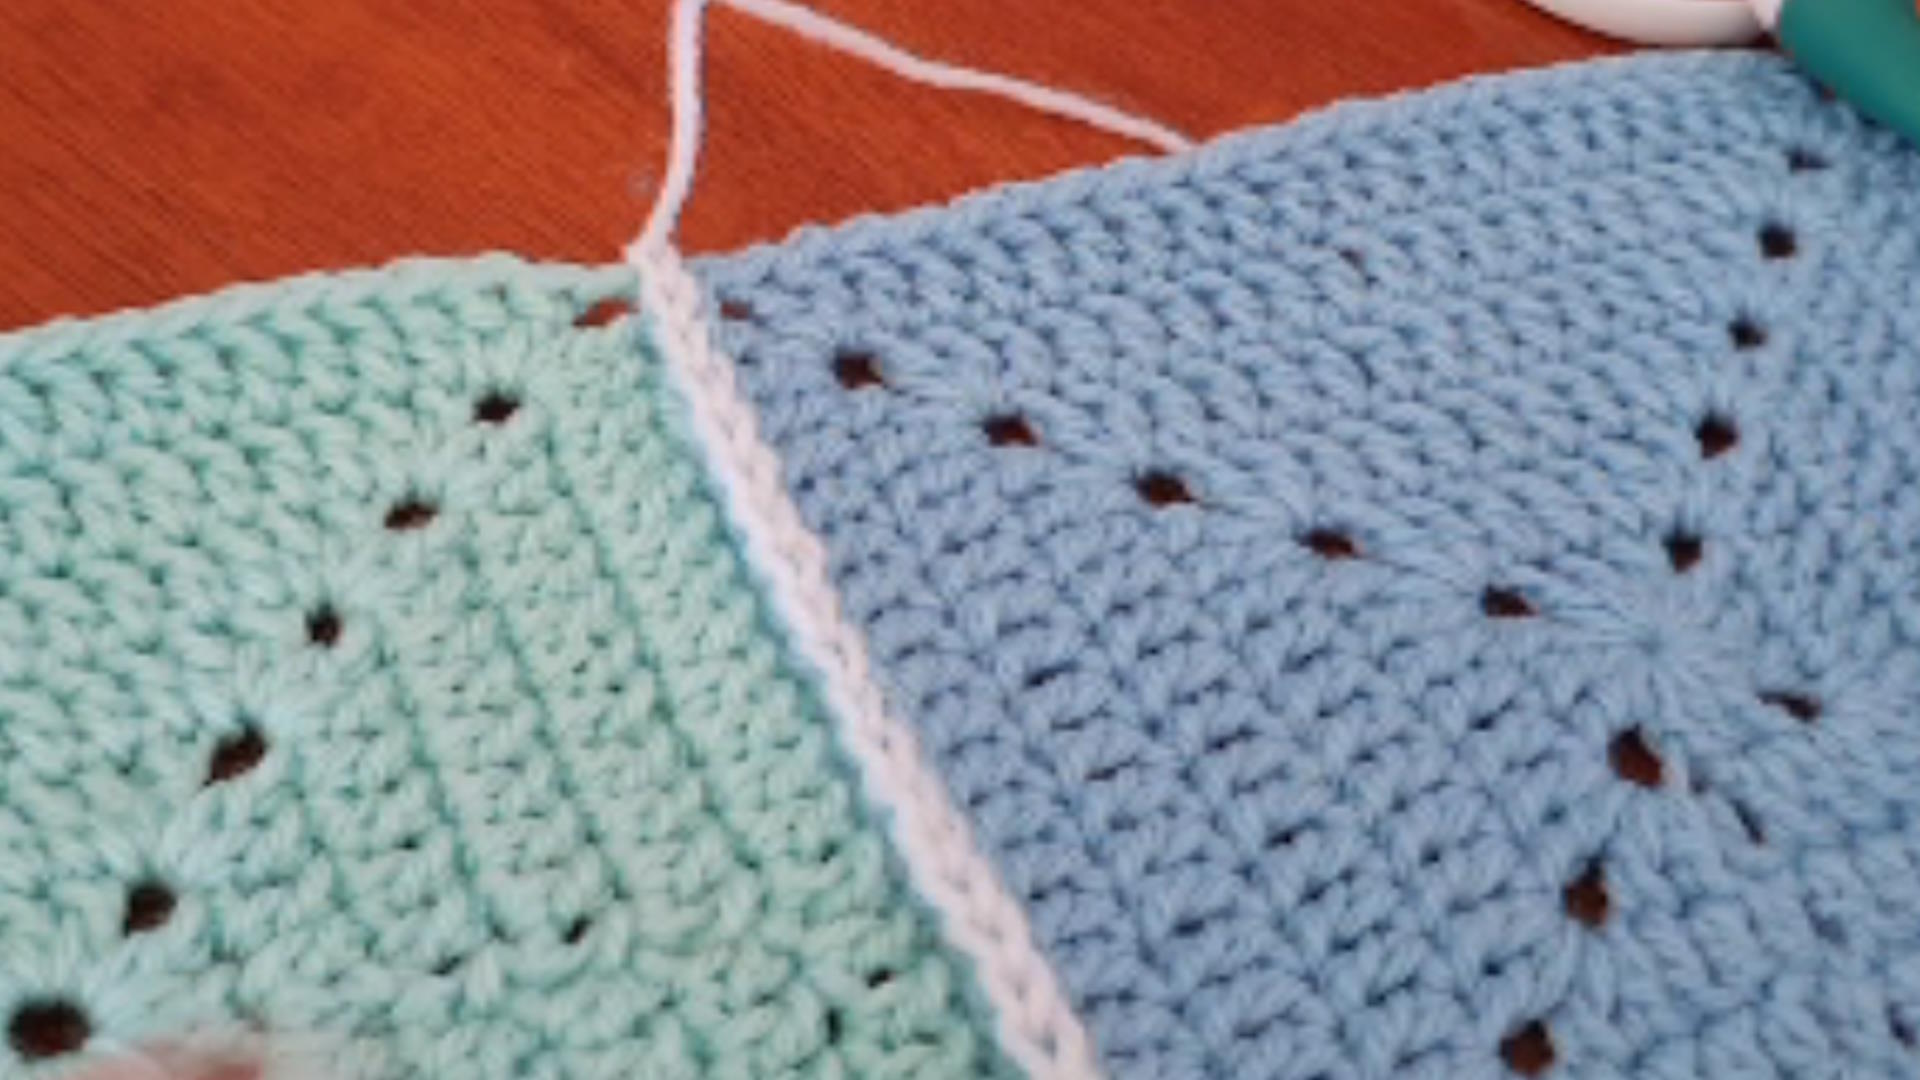
Join your yarn to the second chain stitch in the corner chain space on one of your granny squares. Insert your crochet hook through the same stitch on the second granny square and form a slip stitch. Pull the stitch tight.
Holding your yarn tail underneath the squares, insert the hook into the back loop of the 2nd stitch on granny square 2 and then through the equivalent stitch (from the front to the back) on the 1st square. Wrap the yarn around your hook and carefully pull through all of the loops on your hook.
Work your way along the two squares working a chain/slip stitch in each pair of stitches until your reach the chain space at the other edge of the squares. Fasten off.
Joining Granny Squares with an Invisible Seam
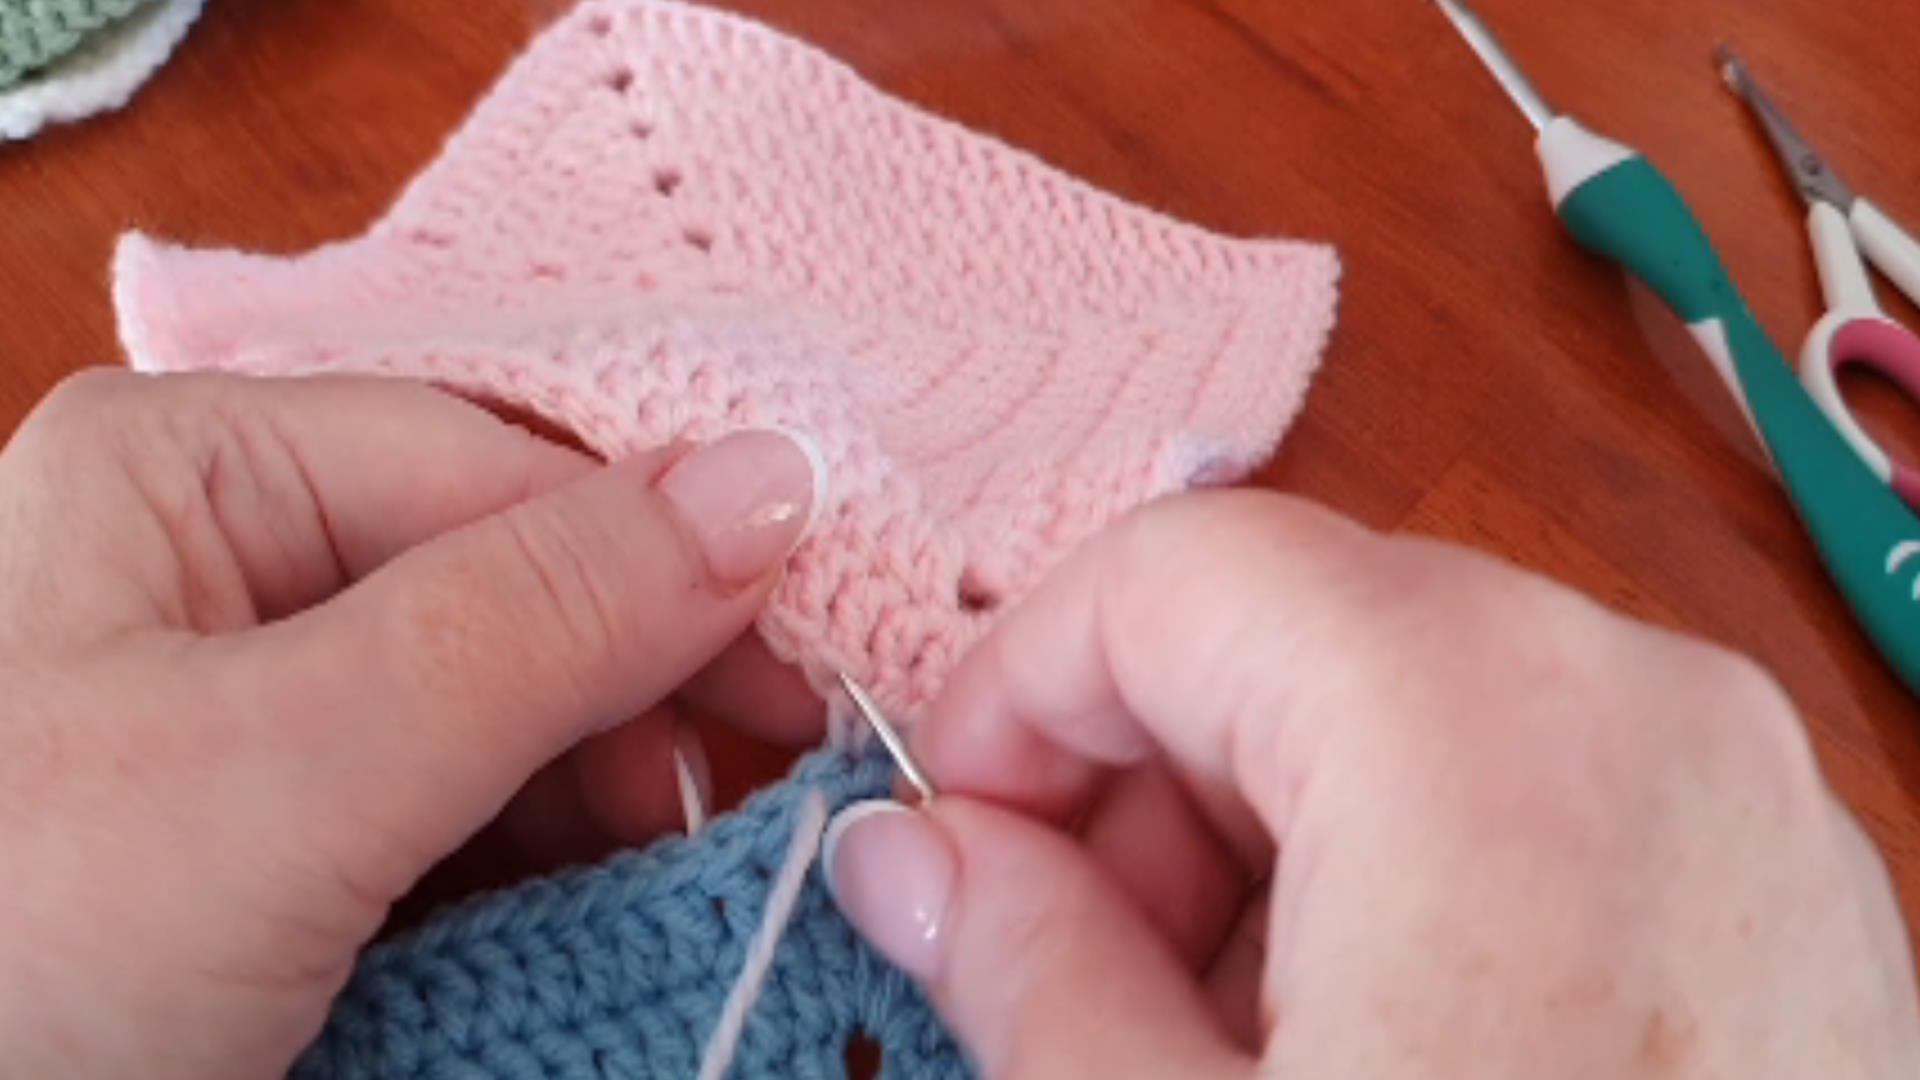
For this method you will need a knitter's needle (or a darning needle) that has an eye your yarn will go through. Lay your two square alongside each other with the sides you wish to join facing each other.
Starting in the corner of your square, join your yarn (on the needle) and begin stitching the squares together by inserting the needle through the center of the first stitch on the second granny square and bringing it back up through the second stitch on the same side. Repeat this step on the matching stitches on the first granny square.
You sew your stitches this way one stitch at a time, weaving from one side to the other as you go.
Would a Video Help?
Sometimes watching someone do it is easier to absorb than static images and written instructions.

Recent Articles
-
Is it Easy to Crochet
Sep 25, 25 03:34 AM
Is it easy to crochet? A common question that many crocheters are asked and to be honest the answer is most likely to be yes and no. -
Granny Square Patterns
Sep 18, 25 03:11 AM
Are you looking for Granny Square Patterns? A lot of beginners start their learning process with making granny squares. -
My Large Amigurumi Dolls
Sep 18, 25 03:10 AM
Let me show off a bit - check out my large amigurumi dolls. They are all hand made by me and available for purchase.


